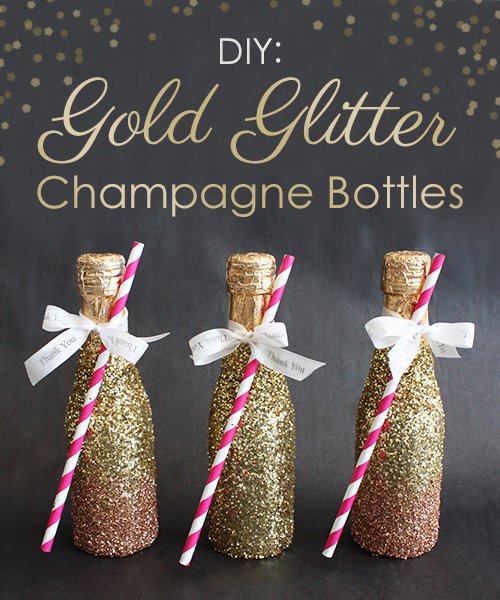
We know, we know… we’re what you may call slightly “obsessed” with all things gold. But really, can you blame us? With favors THIS good-looking, can’t you understand why we subscribe to the mantra “all gold everything”?
If you – like us – can’t get enough of gold, then this easy project is just for you! This DIY is super simple yet super decadent looking. To get started, here’s what you’ll need:
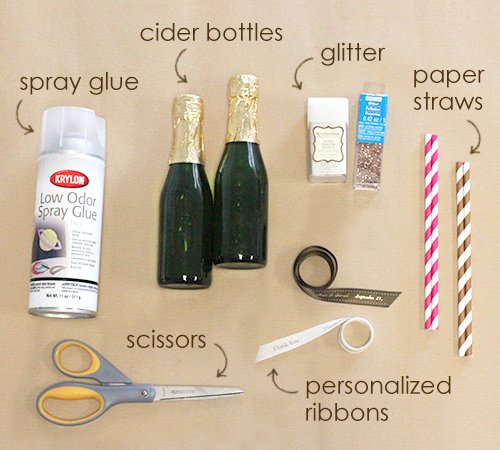
- Bottles: Try using mini cider bottles to create an easy to carry favor for guests
- Decorative straws & personalized ribbon for the final look
- Glitter: Mix of coarse glitter and fine glitter, and different shades for an ombre effect if desired
- Spray Glue & scissors
Step 1) Apply Glue
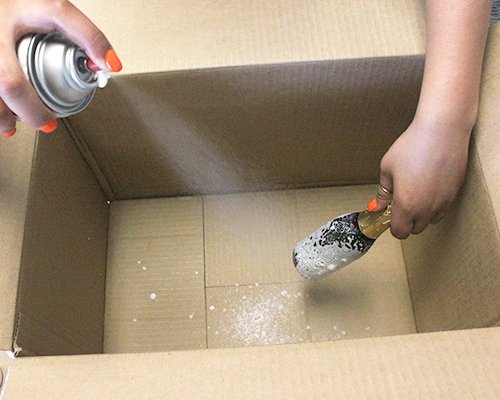
Spray the cider bottle with the glue and let sit for 5 minutes. You can use a paintbrush to further spread it if it doesn’t spray on evenly.
PRO TIP: This part can get messy, so apply the glue inside of an open top box for easy clean up
Step 2) Just Add Glitter
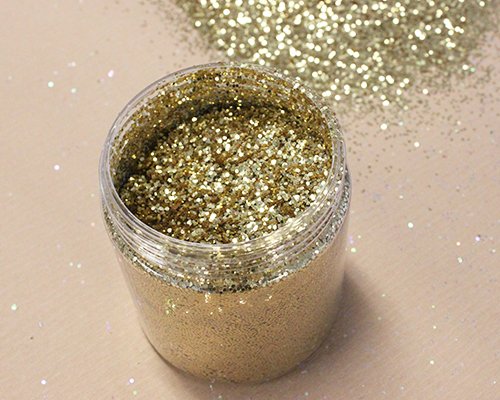
Create a pile of the coarse glitter and roll the bottle through the glitter pile as evenly as possible.
PRO TIP: Pour glitter pile on top of construction paper for easy clean up
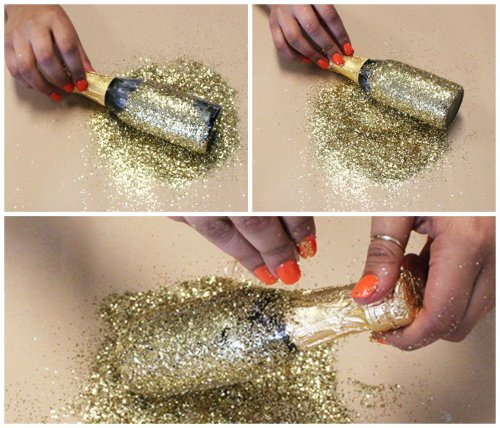
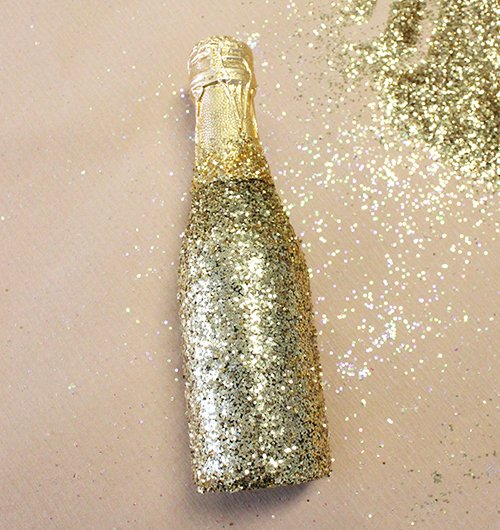
Repeat this process a few times to attain as full of coverage as possible. Use your fingers to add glitter to the “naked” portions of the bottle as necessary.
PRO TIP:
- Use additional glue and glitter as required to cover any bare spots
- Use a silicone or lacquer sealer afterwards to keep the glitter in place
Step 3) Finishing the Look
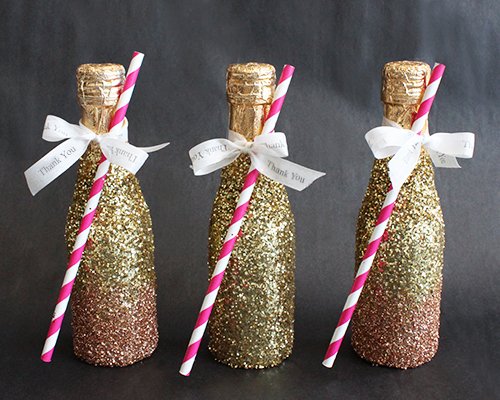
You did it! You’ve successfully glittered your bottles for a decadently elegant look. Now finish the project by tying a decorative straw and personalized ribbon to complete the look for a gorgeous presentation. This cute finished project is a delicious treat that guests can enjoy at the party or bring home as a unique souvenir!
PRO TIP:
- For an ombre effect, add a little glue to the bottom of the completed bottle. Using a fine glitter with a different color, sprinkle along bottom of bottle

