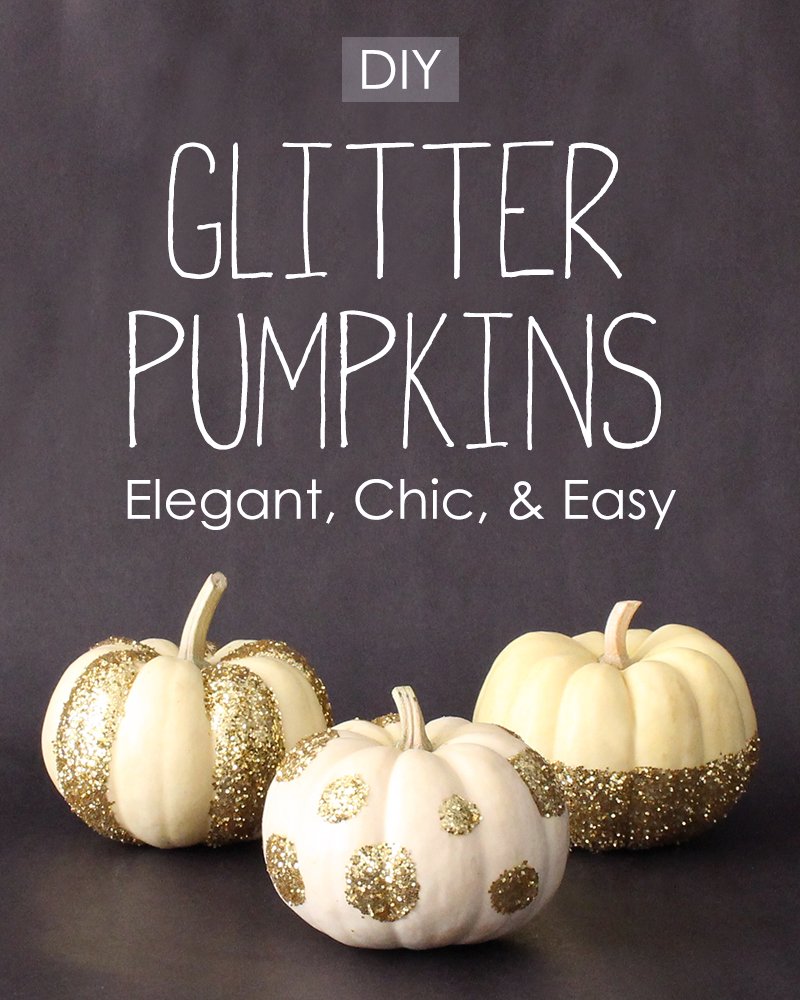
Happy Halloween, Fall, and Thanksgiving! Whatever autumnal occasion you’ve got on the docket, be ready with decorated DIY glitter pumpkin flair.
These decorated pumpkins are easier than carving and look gorgeous on the porch, as a table centerpiece, or as decor sprinkled throughout the party.
Here’s What You’ll Need:
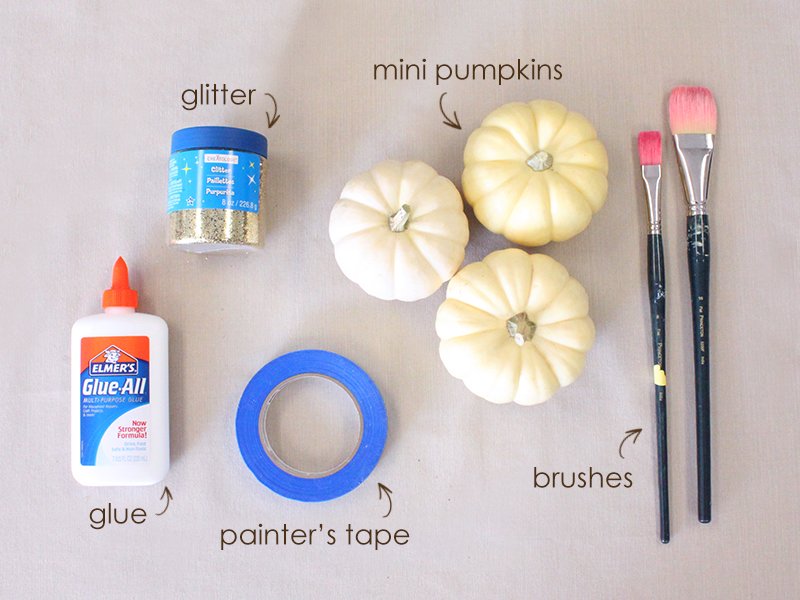
- Glitter : We worked with gold, but choose a color to best match your theme
- Elmer’s Glue-All: Choose the glue a tip for easy maneuvering
- Painter’s Tape: For more complicated designs like stripes and chevrons
- Mini Pumpkins: We chose white for an elegant look
- Paint Brushes: Small for precision painting, medium for filling in
Polka Dot Glitter
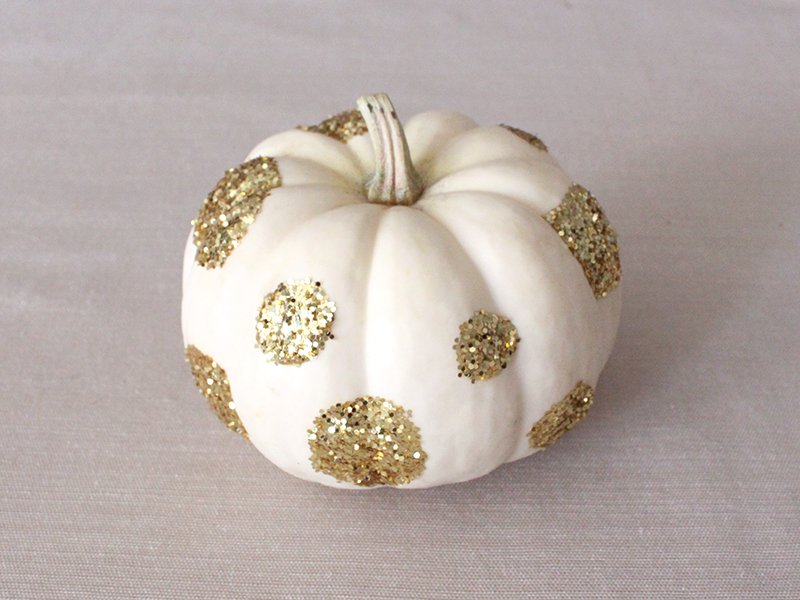
Today we’re going to demonstrate with a polka dot design. This style is whimsical looking – perfect for all holidays – and extremely foolproof.
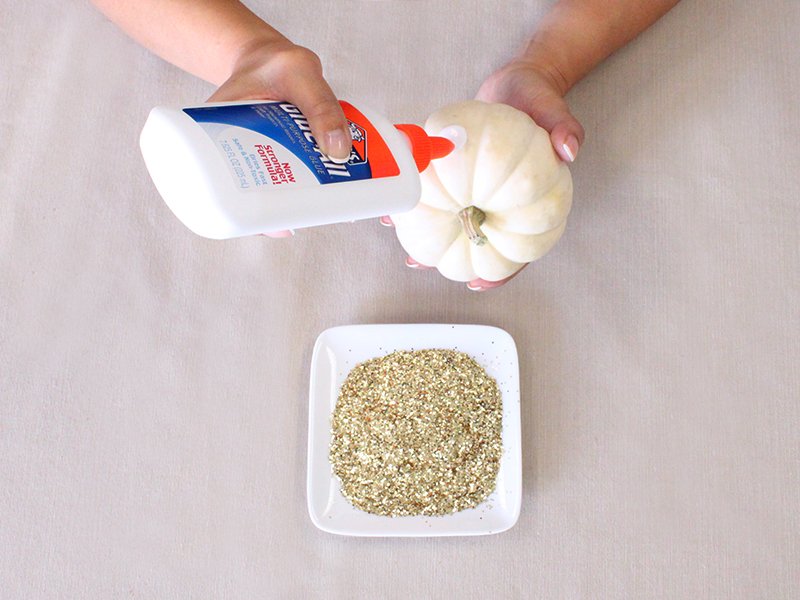
Start off by making glue circles. Start with a small circle to get a feel of how to paint with the tip of the Elmer’s glue.
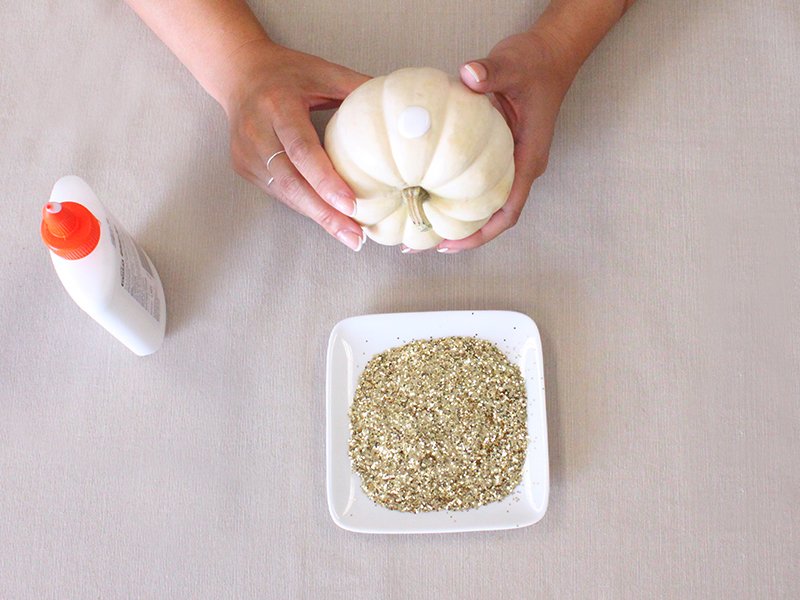
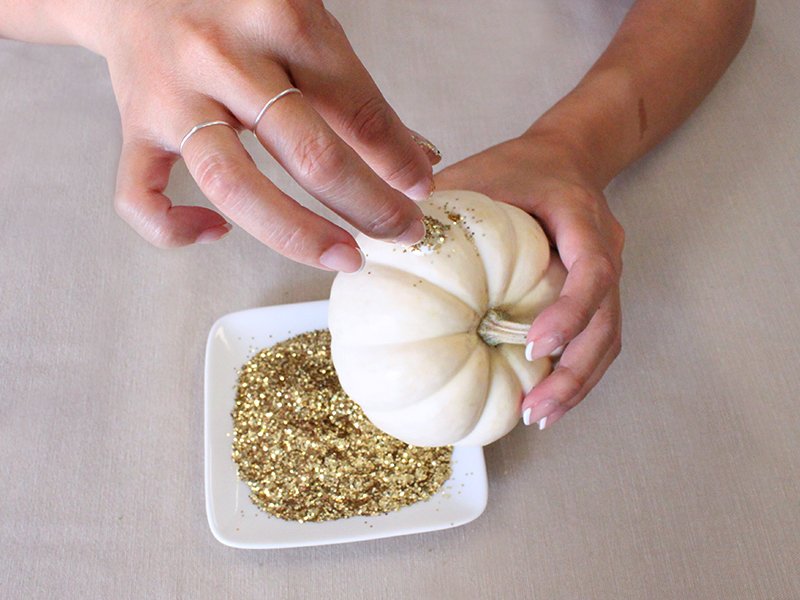
Now it’s time to glitter! Lightly sprinkle your gold glitter over the circle of glue. We recommend to glue, glitter, repeat – to better control the spacing of the polka dots.
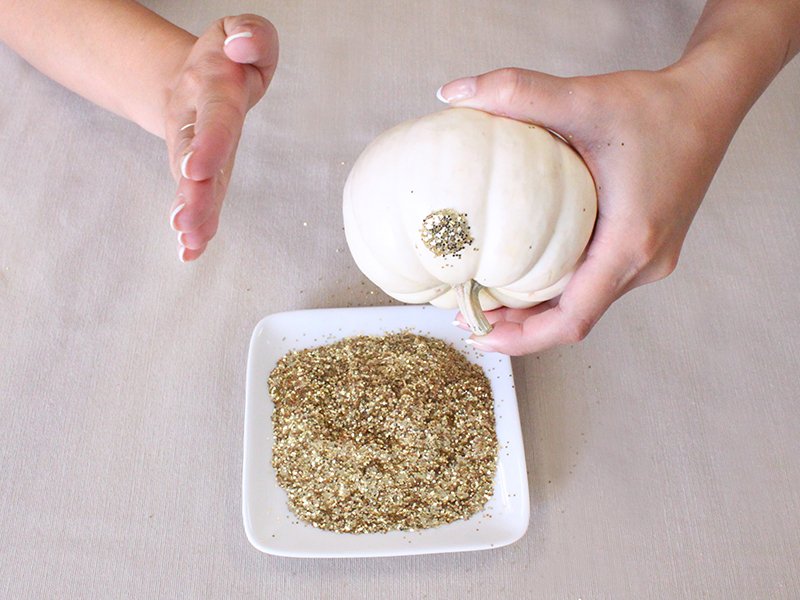
After the glitter sprinkling, give your pumpkin a little spanking! Just to shake off the excess glitter.
Continue this process with different sized circles for added dimension. Once the glue has dried, use a dry paint brush to lightly brush off excess glitter.
Additional Designs:
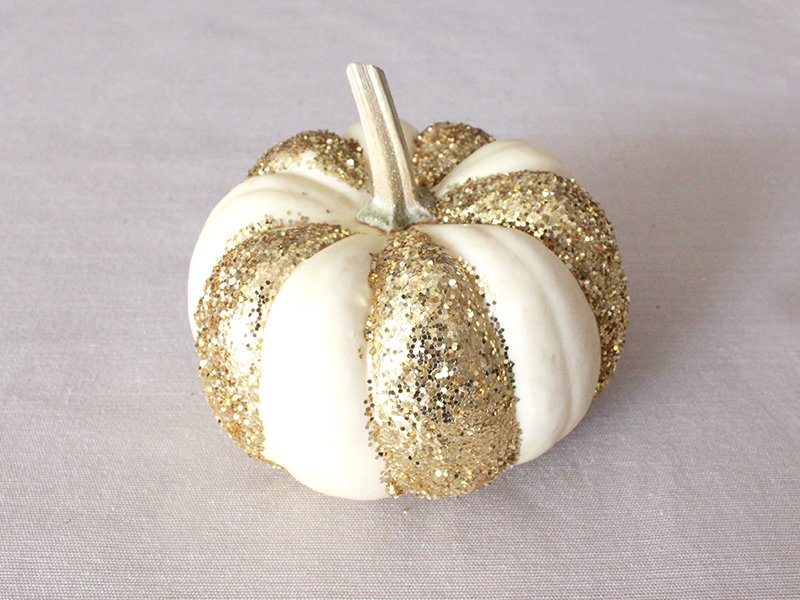
Striped Glitter
Glitter Dipped
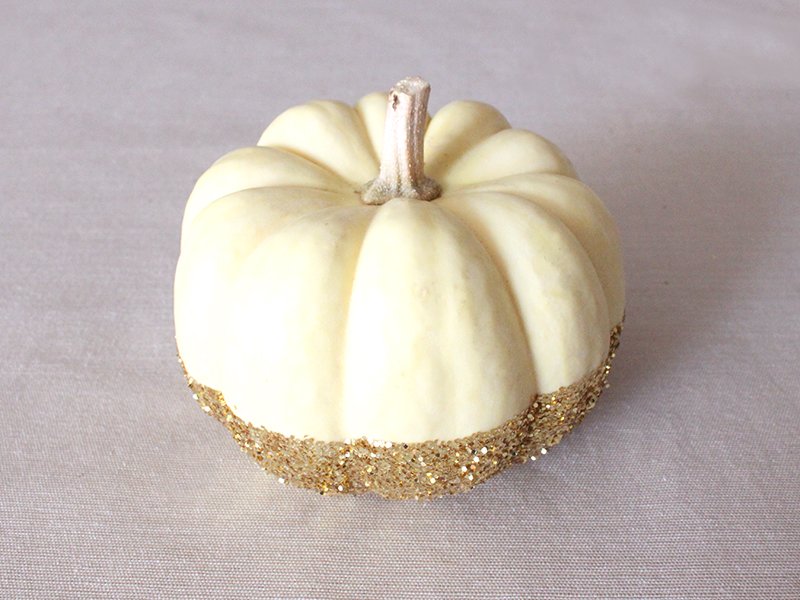
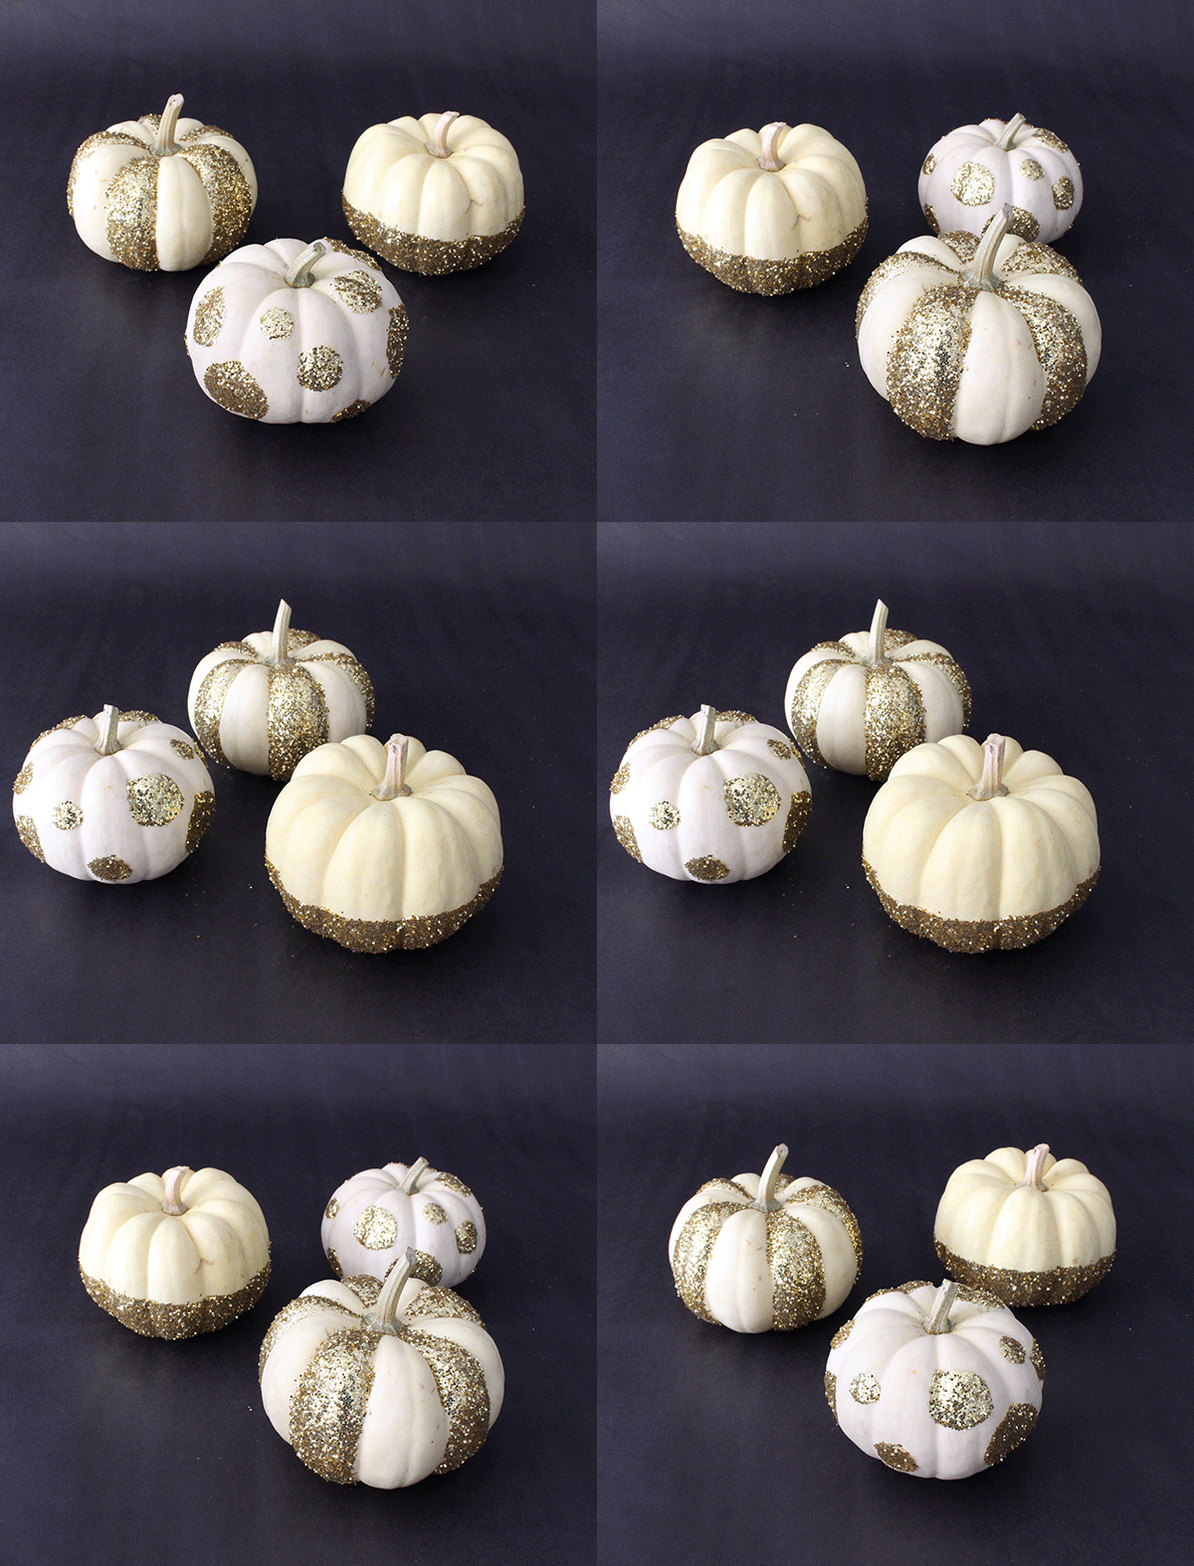
Final Look
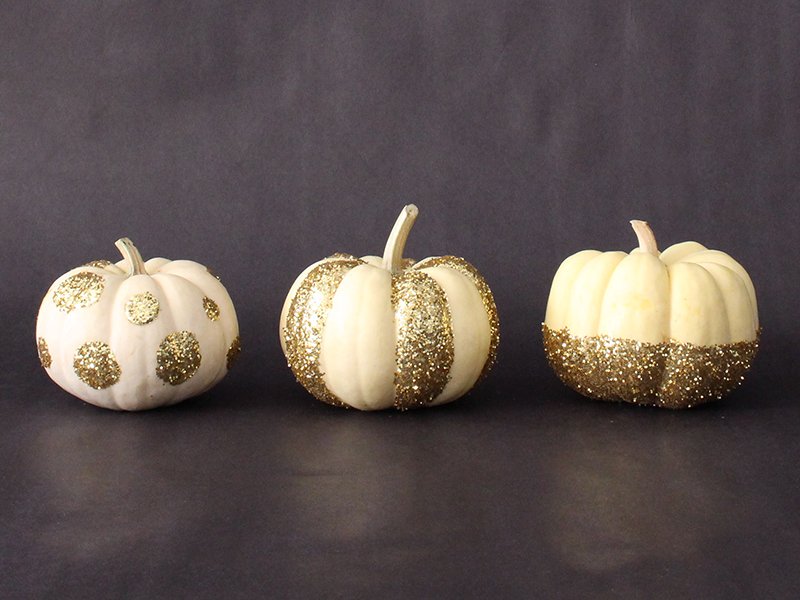
Voila, easy-peezy DIY glitter pumpkins that look gorgeous at home, parties, and the office. Make your own version this season!


