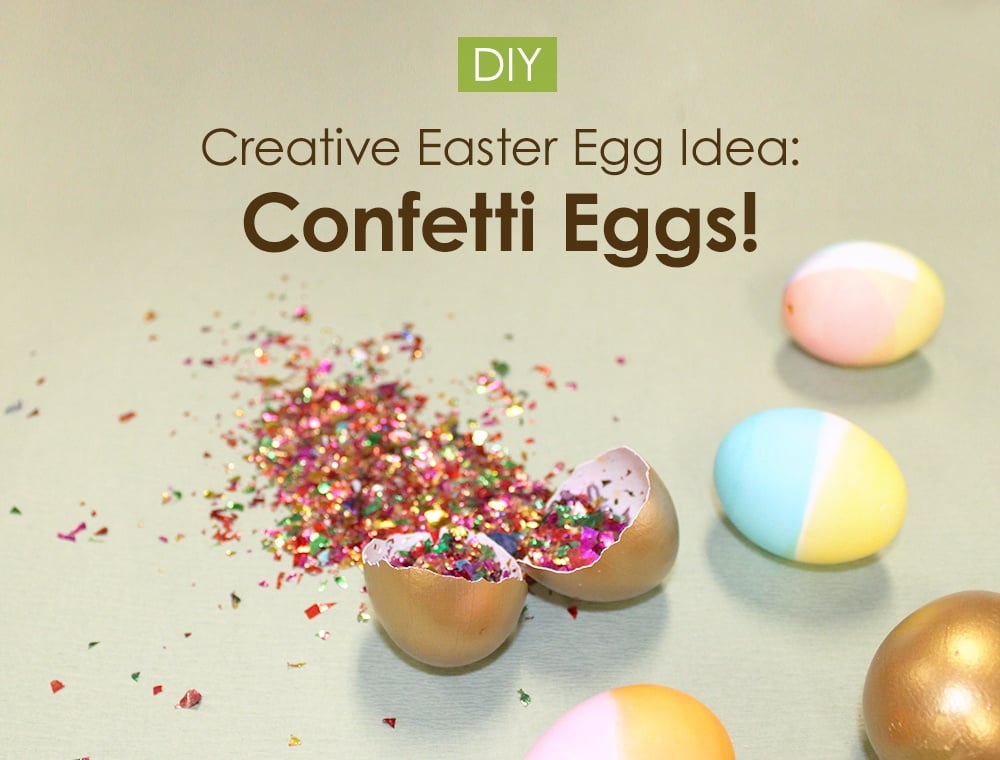
Confetti eggs, also known as cascaron, are decorated eggs filled with confetti. Back in the day, they were used for courting purposes where men would throw filled eggs at women they found attractive (nothing says romance like being smacked in the head with an egg, am I right ladies?!).
Fast forward to present day however and these filled eggs are more often used for Easter egg decorating celebrations.
Today, we demonstrate how you can easily create your own confetti egg! Throw them at whomever you want – as long as it’s consensual!
Here’s What You’ll Need:
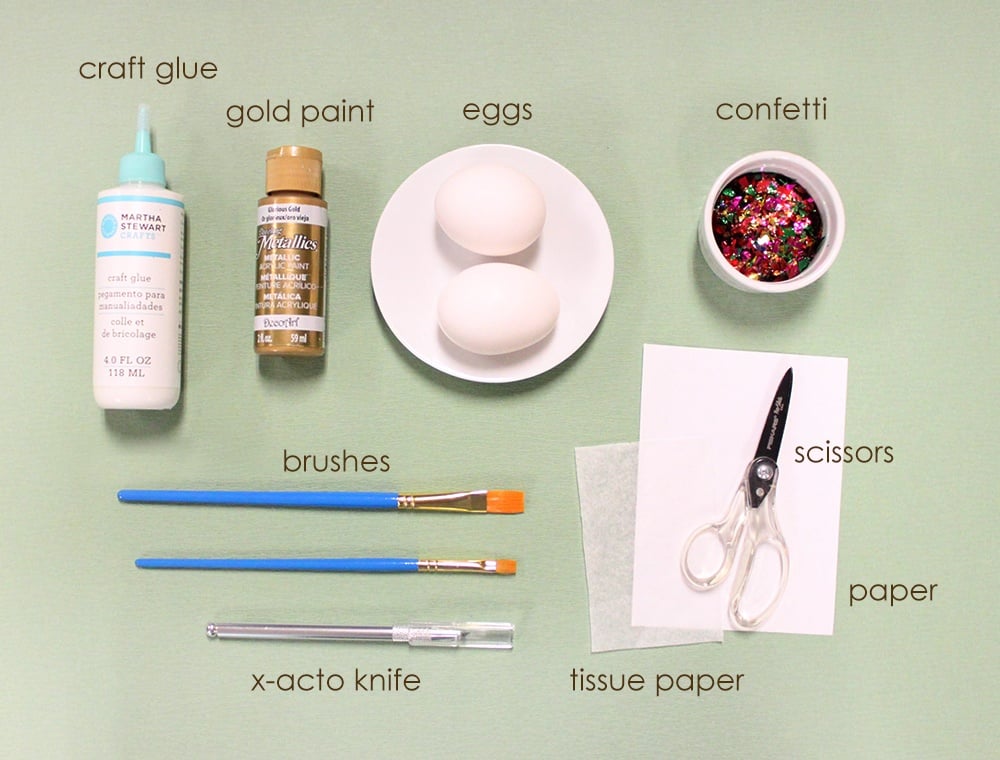
- Craft Glue
- Gold Paint (optional – use the paint or decoration of your choice)
- Raw Eggs
- Confetti (choose confetti that you wouldn’t mind spilling everywhere once the egg gets cracked)
- Brushes (1 for glue application, 1 for paint application)
- X-Acto Knife (if not available, substitute with anything thin and sharp)
- Paper (thick enough to act as a funnel)
- Tissue Paper
- Scissors
Preparing The Shell
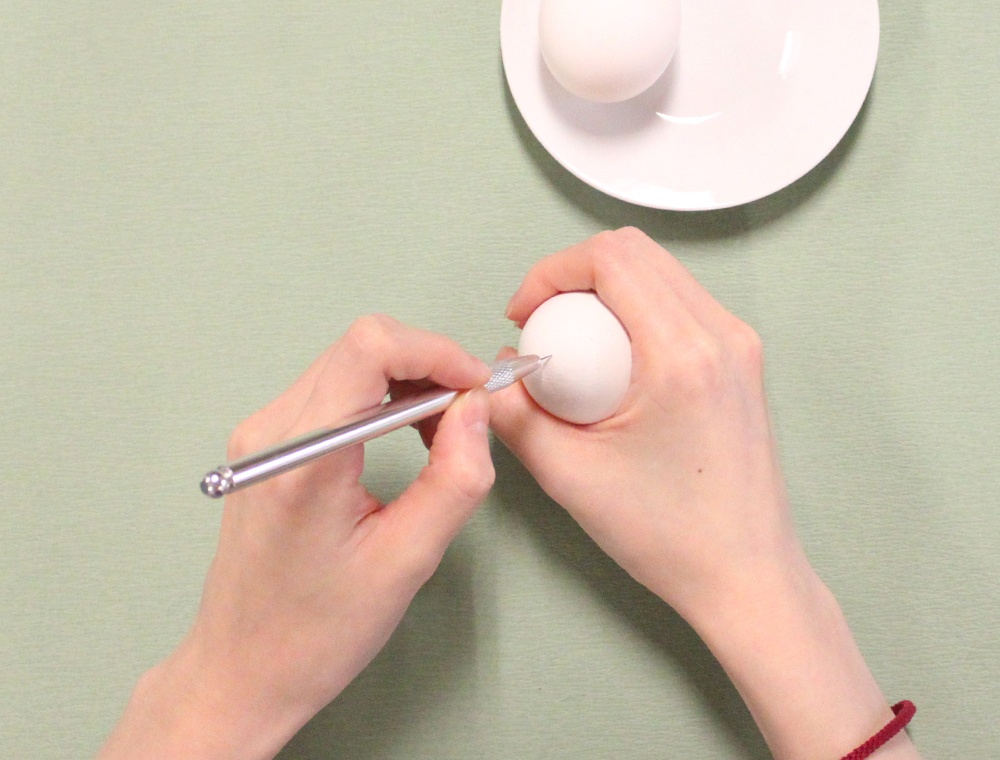
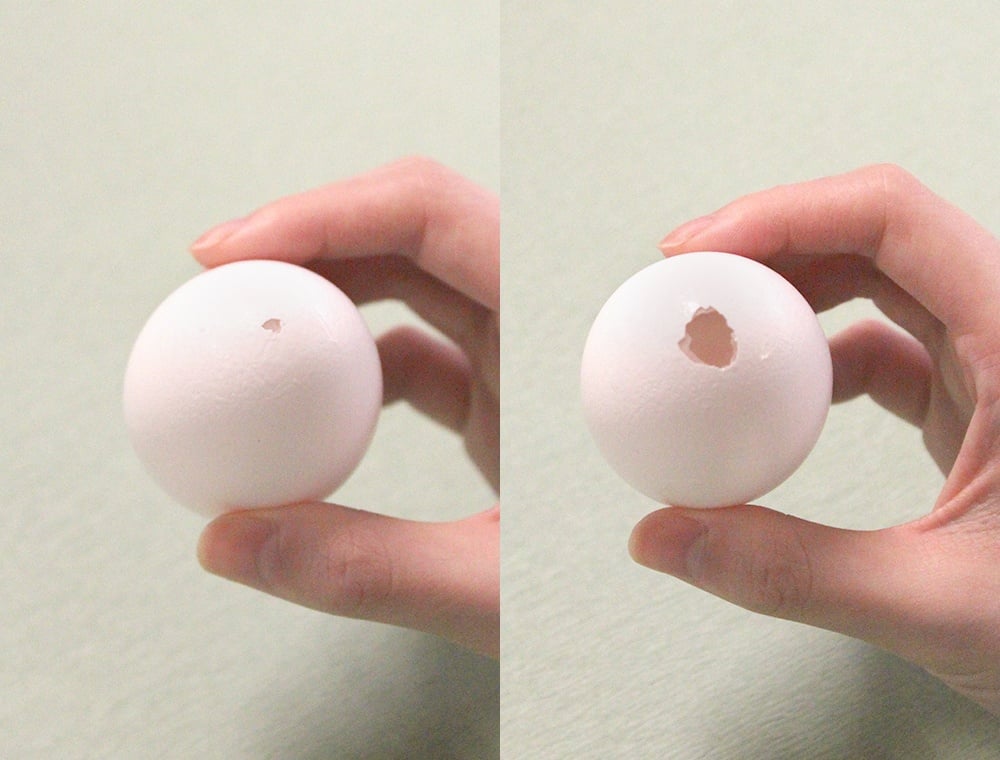
1) Wash exterior of egg and using the X-Acto knife, carefully cut out holes on top and bottom – one small and one big to create air flow
2) Drain the insides of the shell through the larger end, rinse thoroughly, and allow to dry
PRO TIP: For additional information, fresh style provides an excellent guide on how to drain the shell
Insert Confetti Contents
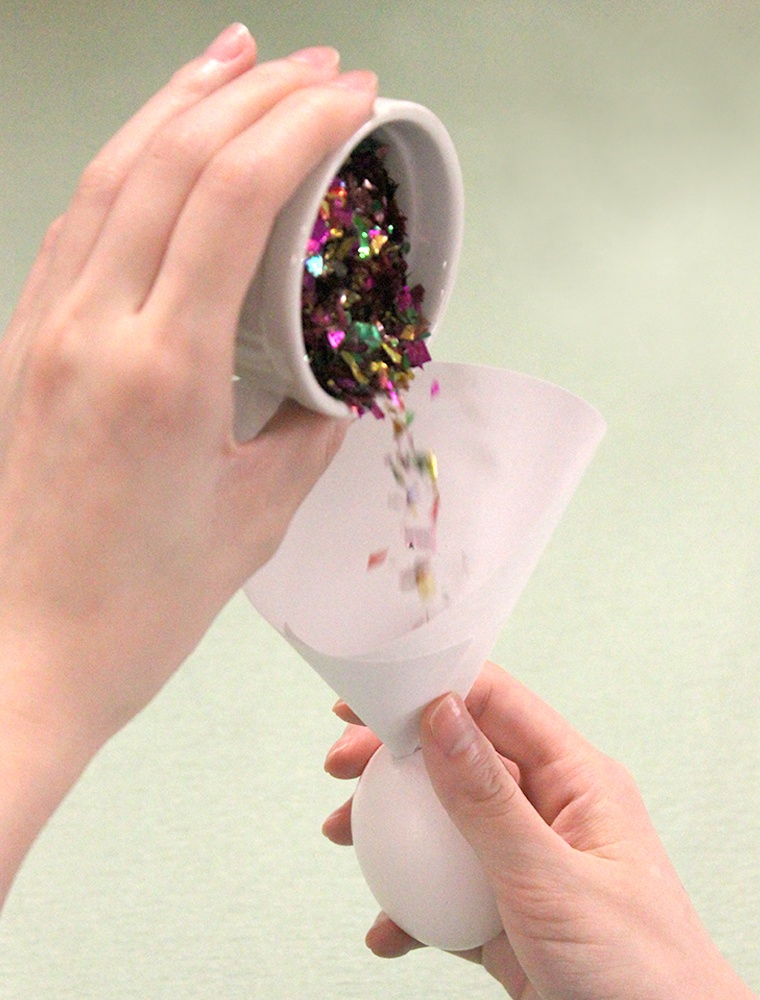
1) Using your piece of paper, create a funnel shape into the larger opening
2) Fill the hollow shell with confetti
Seal of Approval
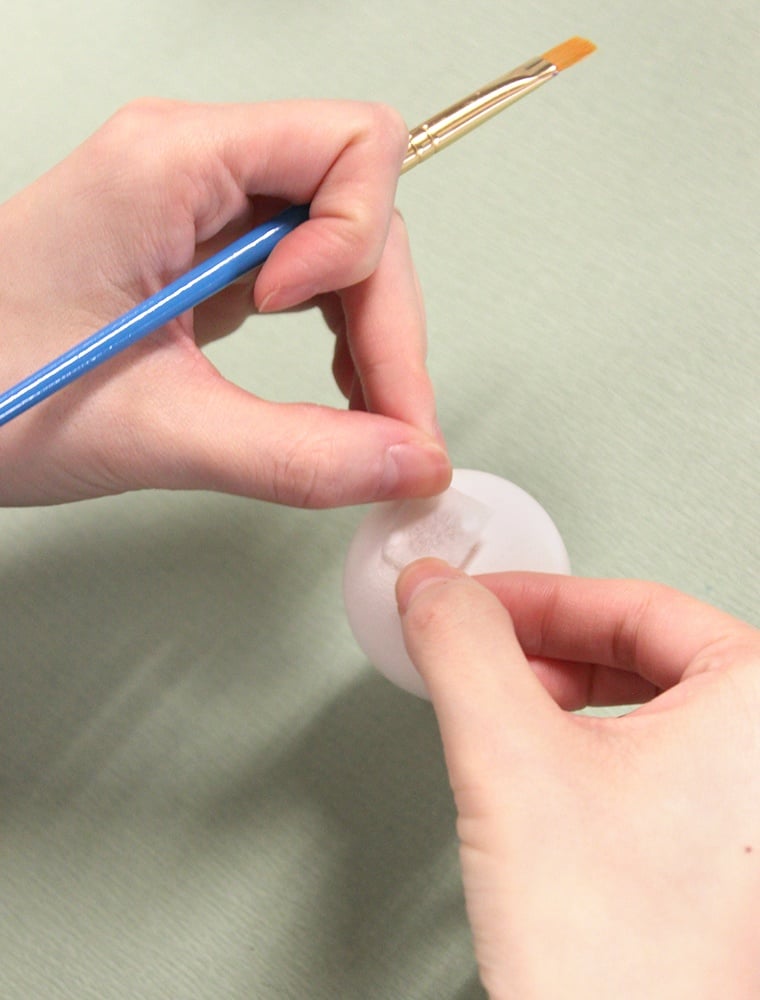
1) Cut a piece of tissue paper in a size big enough to cover the large opening
2) Add glue to tissue paper corners and apply to shell, ensuring the entire opening is covered
3) Use the smaller paint brush to smooth out the glue and tissue paper over the egg
Decorating The Filled Shell
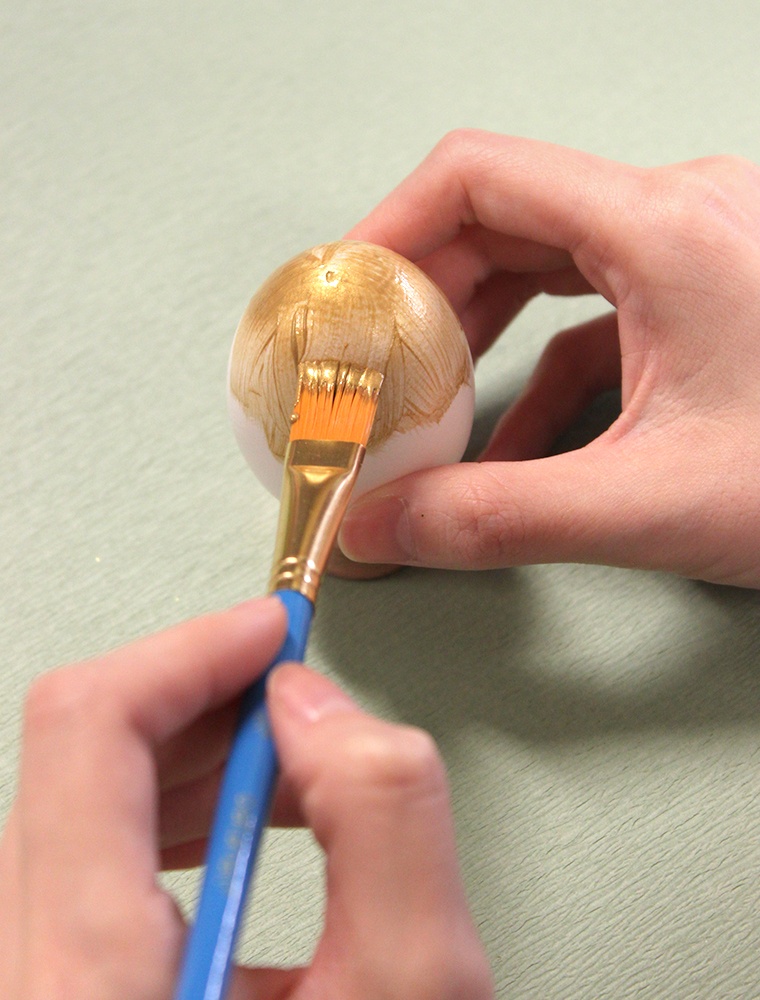
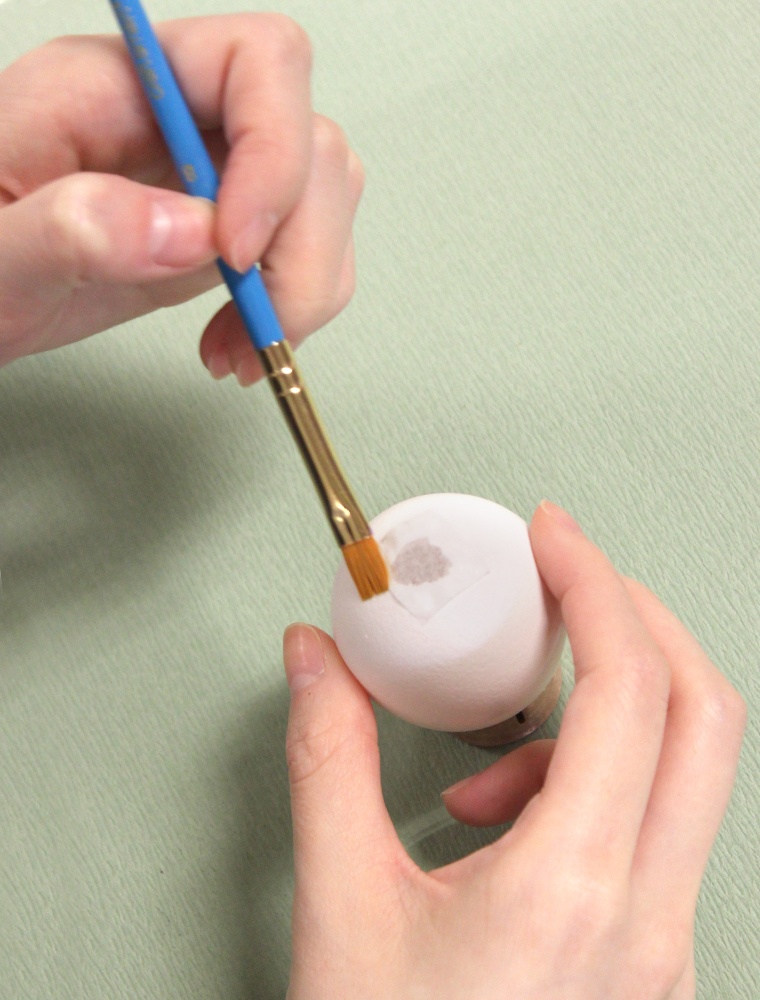
1) Start by painting the opposite end of the tissue paper side (this allows glue and tissue paper end to dry properly)
PRO TIP: Rest the egg on an egg holder or a roll of washi tape if available
2) Paint the other half
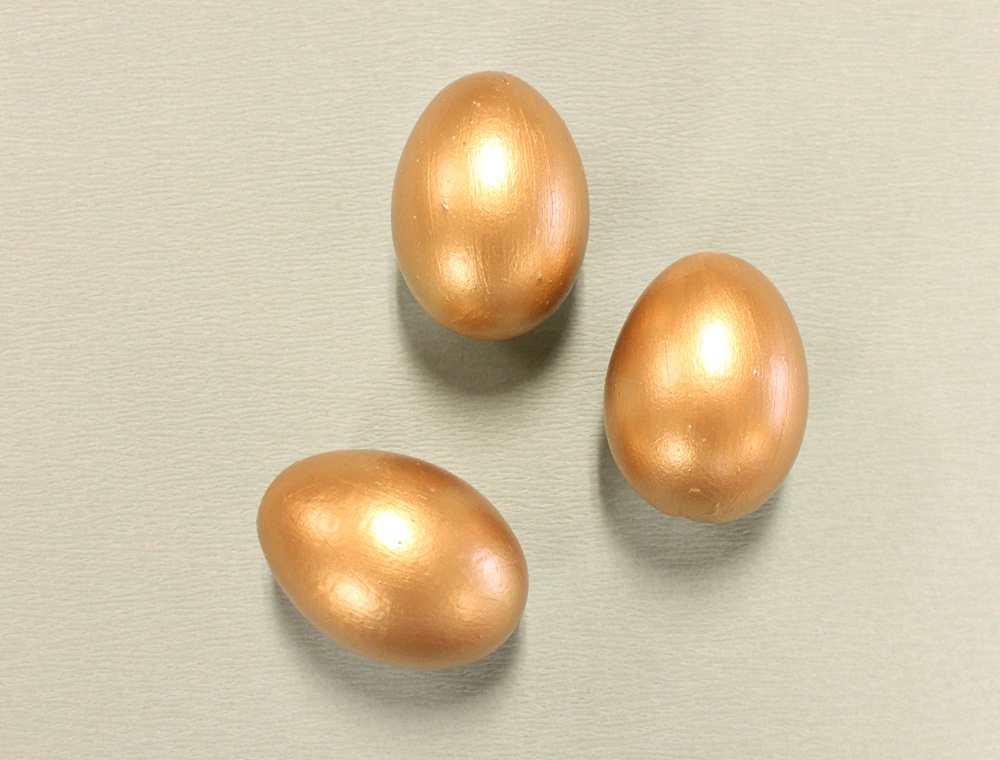
3) Repeat until you’ve completed 2 – 3 layers on the entire egg, until you produce an opaque metallic effect
PRO TIP: Ensure paint is dry before adding additional layers
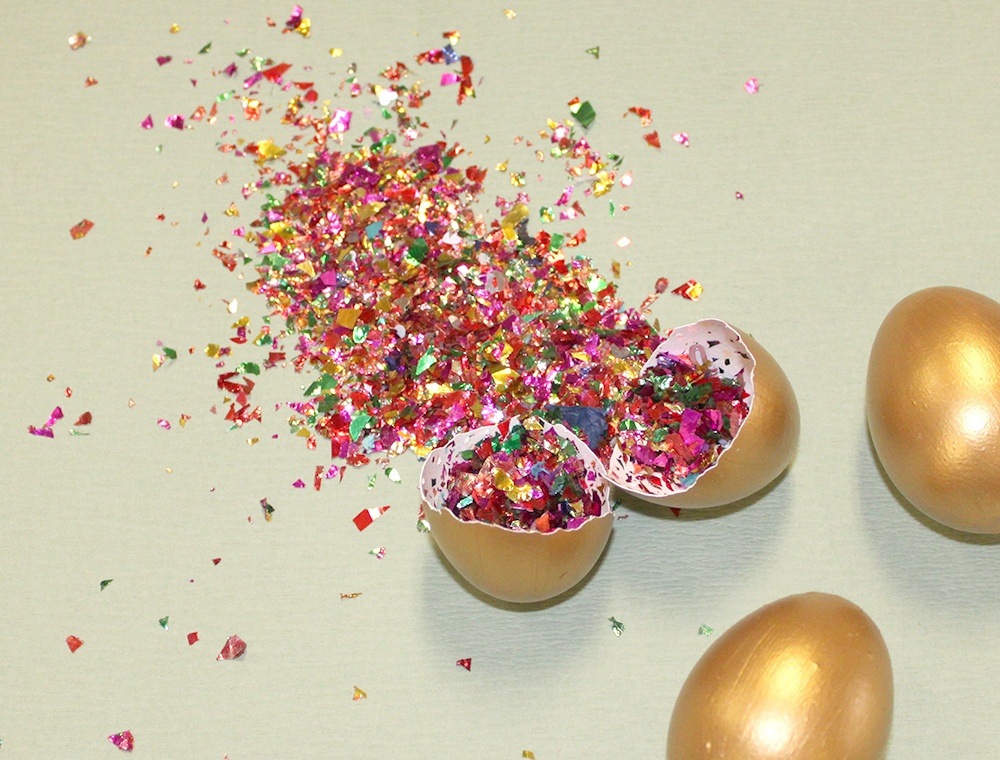
The finished result? A golden egg that’s beautiful inside and out! Have fun making these gorgeous confetti eggs and even more fun cracking them open.
If you’re a grandparent looking to have fun making these confetti eggs with your grandkids, you may also want to explore some adorable Easter gifts for your little ones, like these personalized Easter baskets!